
Server disk full: diagnose logs, Docker images and uploaded files safely
Diagnose a server disk full incident by identifying the affected filesystem, inode pressure and storage owner before considering any scoped recovery action.
5 min read
In this article
An upload fails, a database reports a write error and the deployment cannot unpack its next release. The server may have run out of filesystem space, but deleting the largest directory can turn a recoverable capacity incident into permanent data loss.
A server disk full investigation should identify the failing mount and storage owner before any cleanup. This Linux guide uses read-only diagnosis first and separates retained data from genuinely disposable material.
Our backup and restore guide explains why recovery copies and restoration evidence must survive an emergency.
Step 1: Identify the exact failed write
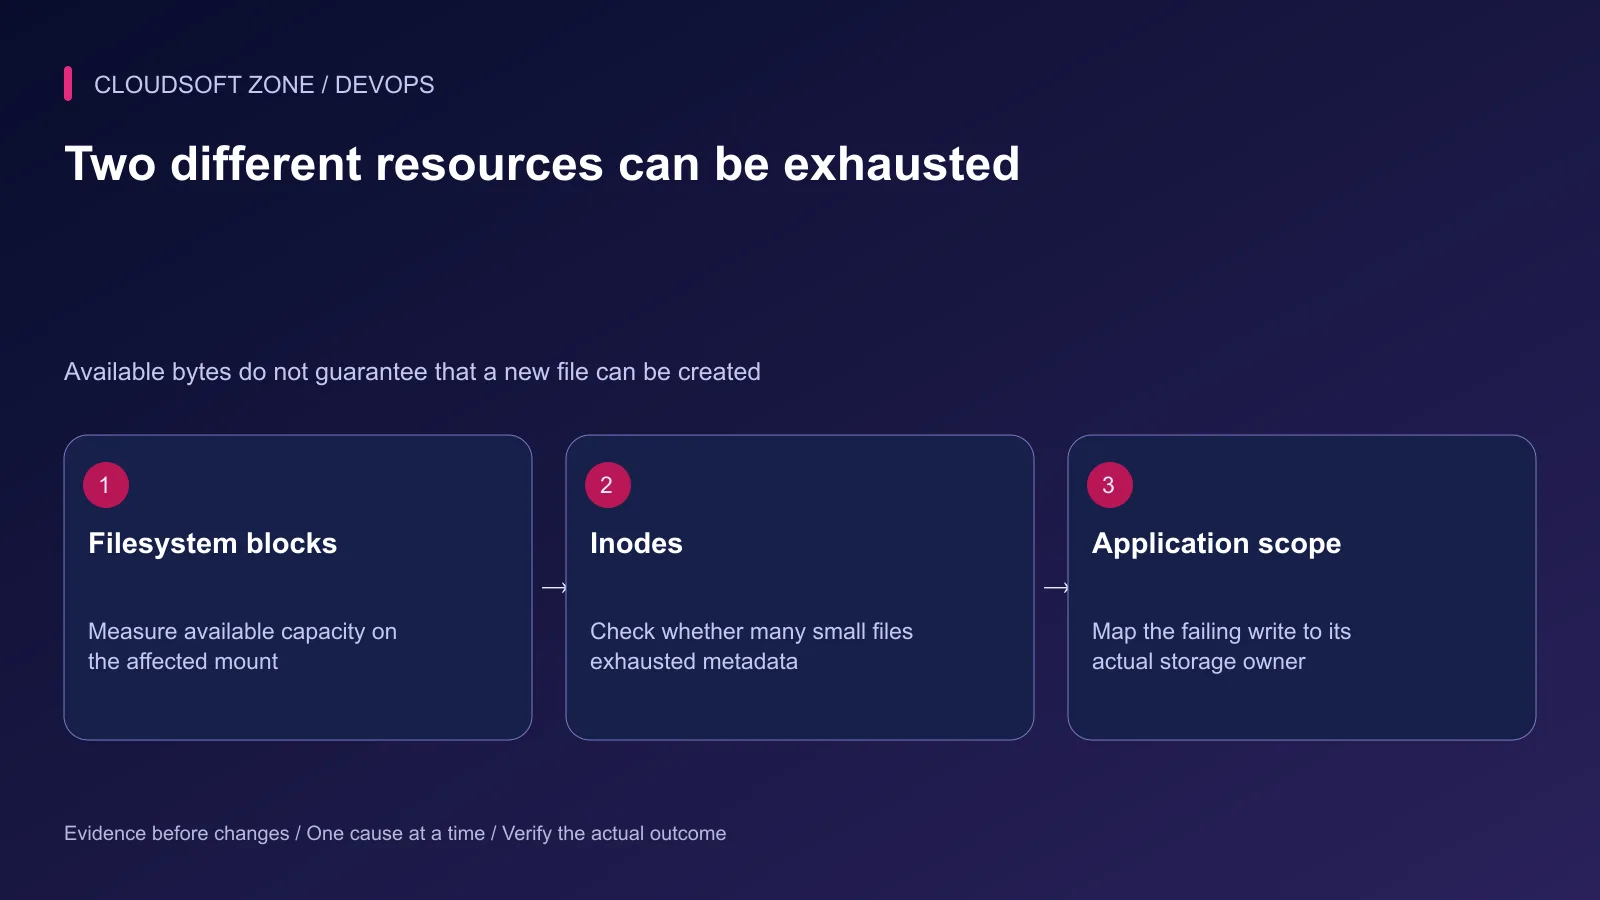
Record the path, error, timestamp and affected application. An application upload mount, database volume and root filesystem may have separate capacity. Freeing root-disk space does not repair a full external upload mount.
For a reader's Linux application directory, these commands inspect the containing filesystem and its inode availability:
df -hT /srv/example-app
df -i /srv/example-app
Replace the path with the authorized application path. These are diagnostic examples, not commands to scan unrelated projects. Confirm the intended mount and account for permissions or reserved capacity before interpreting the numbers.
| Observation | Likely investigation |
|---|---|
| Capacity nearly exhausted | Large or growing allocations on that mount |
| Inodes exhausted | Many small files, cache entries or temporary artifacts |
| Application fails on another mount | Inspect the actual upload or data path |
| Mount is read-only | Investigate filesystem or storage failure separately |
A read-only filesystem or quota limit is not the same diagnosis as exhausted blocks. Preserve the original error instead of assuming every failed write is a disk-capacity problem.
Step 2: Bound the directory scan
Inspect an owned directory on the affected filesystem:
du -x -h --max-depth=1 /srv/example-app
The one-filesystem option avoids descending onto another filesystem. The depth option bounds displayed detail, not the total traversal cost. A large directory can still require substantial I/O; choose the smallest useful scope during an incident.
Do not follow arbitrary symlinks or scan other applications merely because they share the server. Record the largest owned allocations and their growth source before deciding what can be changed.
Distinguish allocated space from apparent file size. Sparse files and filesystem features can make the two differ, so a size listing alone does not explain every capacity observation.
Step 3: Investigate accounting differences
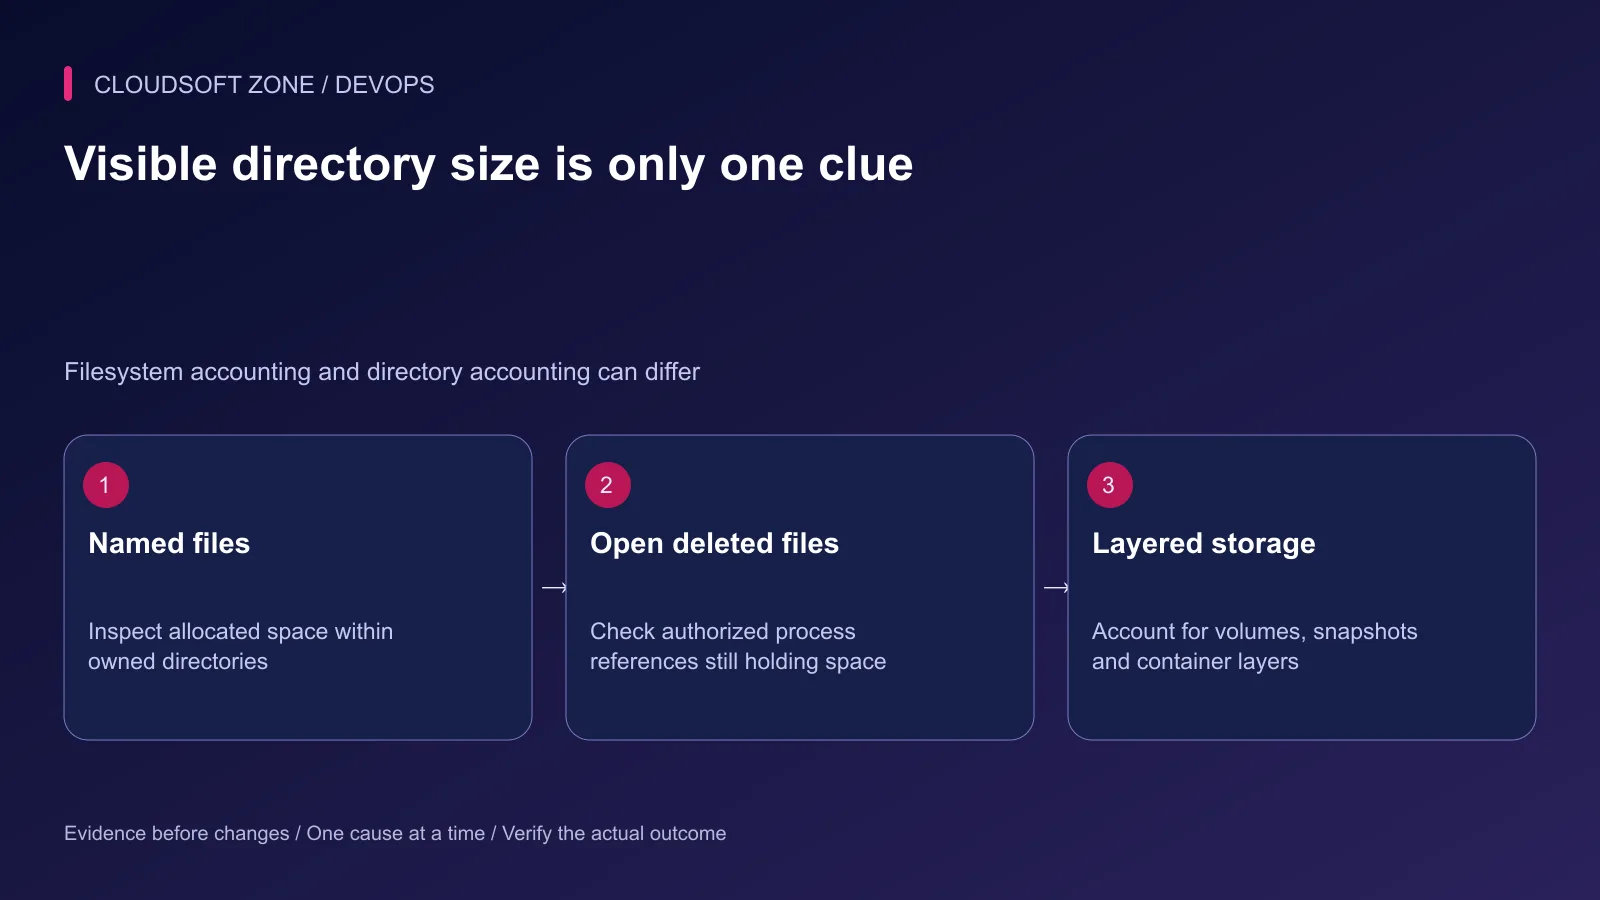
If filesystem usage remains high while named files appear small, check whether an authorized process holds an open deleted file. On Linux, removing a filename does not necessarily release its allocation until the final open reference closes.
Use a process-scoped inspection where the owner and permissions are known:
lsof -a -p 12345 +L1
The process identifier is illustrative. Output can reveal paths and process details; keep it private. A positive finding does not authorize killing the process or deleting additional files.
Determine whether the owning service supports reopening logs through its documented mechanism. A controlled reopen or restart may release space, but assess the service interruption and preserve evidence first.
Step 4: Review logs through their owner
Identify whether growth comes from application logs, system journals or container logging. Compare the rate with the release timeline and errors. A sudden logging loop can refill the disk after cleanup.
For systemd-managed journals on an authorized host, journal disk usage provides an accounting observation. Retention changes and vacuum operations are separate mutations with evidence-retention consequences.
Prefer the established rotation and retention mechanism. Do not truncate a live file or remove all logs as a generic cure; incident and audit evidence may be needed, and the writing process may not behave as expected afterward.
Step 5: Review Docker storage without broad pruning
Confirm the Docker context and host ownership before using its disk-accounting command. On a dedicated authorized reader host, docker system df reports Docker resource usage, but its scope is the daemon, not one Compose project.
On shared hosts, use the approved project-specific inventory instead of inspecting unrelated resources. Container writable layers, named volumes, images and build cache have different retention meanings.
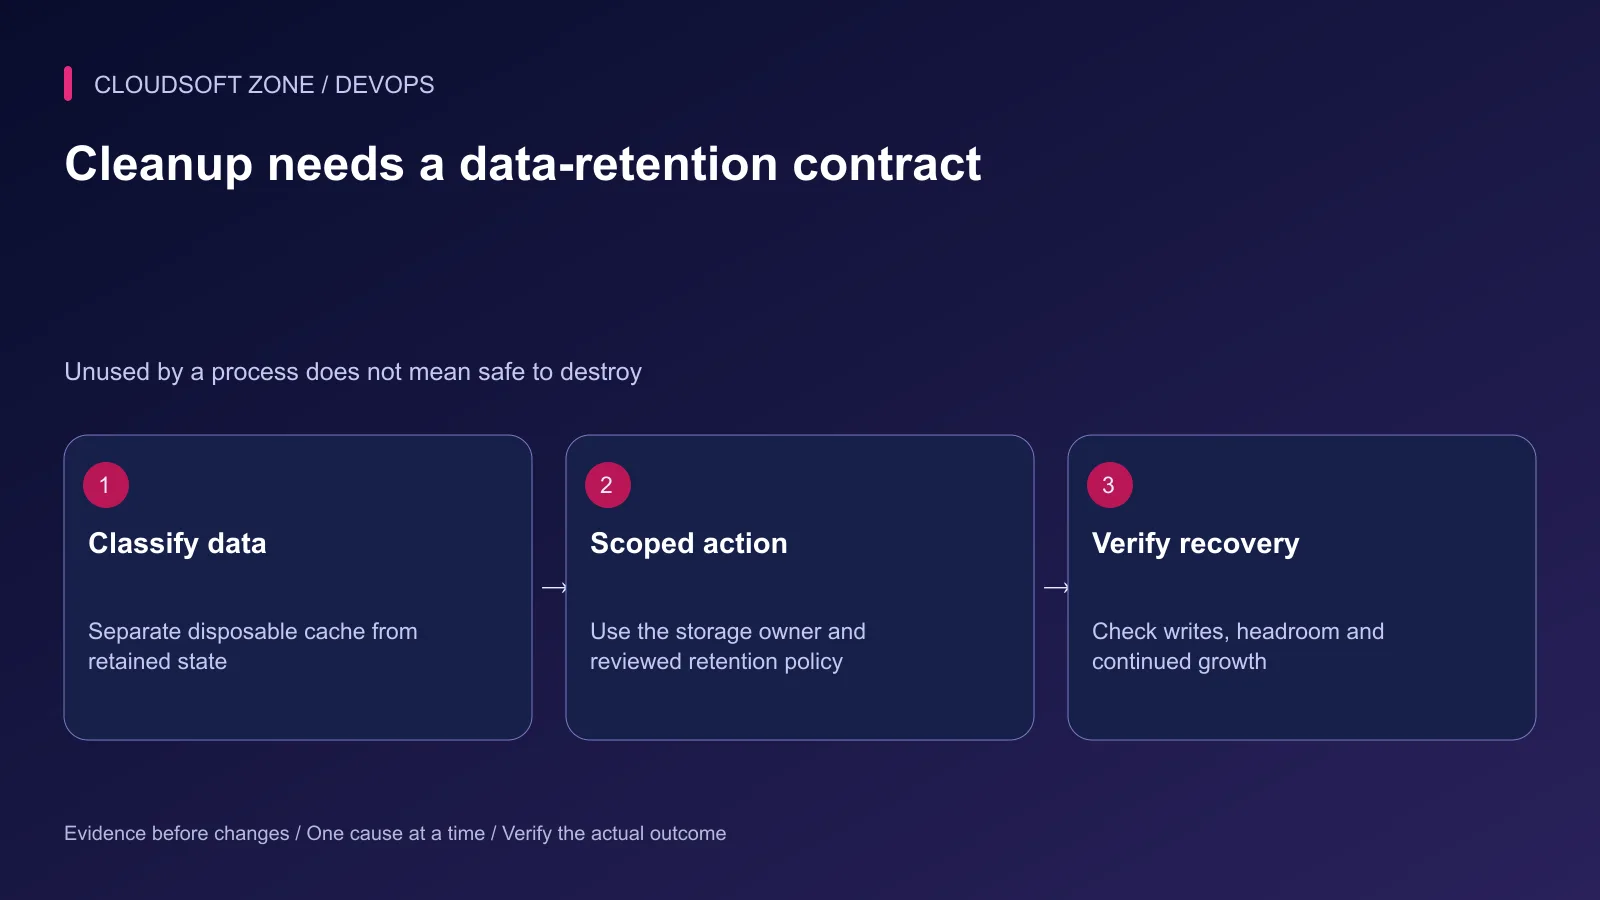
An image no longer used by a running container may still be the required rollback artifact. A volume detached from a container may still contain the only retained database or uploads. Do not equate an unused status with permission to destroy it.
Step 6: Choose a reversible or explicitly retained recovery path
Options include expanding the affected volume, moving approved archival material to verified storage, or removing explicitly disposable cache through its owner. Each needs a concrete scope and enough free space for the operation itself.
| Material | Recovery constraint |
|---|---|
| Database data and transaction logs | Follow the database's own procedures |
| Customer uploads | Preserve retention and access expectations |
| Backups | Keep required restore points and tested recovery copies |
| Release artifacts | Retain the intended rollback set |
| Disposable build cache | Confirm ownership and regeneration cost |
Step 7: Verify writes and prevent recurrence
Confirm the originally failing operation now succeeds, then check filesystem headroom, inode availability and growth over a defined interval. A momentary free-space reading is insufficient if the same log loop continues.
Add capacity alerts based on remaining headroom and consumption trend. Include build, backup and deployment scratch space in the budget rather than allocating every available byte to retained data.
Our single-VPS deployment guide covers retained release boundaries. For storage and recovery planning fitted to your application, discuss the project with Cloudsoft Zone.
Featured image: Cloudsoft Zone technical layout with ubuntu artwork by Canonical Ltd (Public domain). Product mark resized proportionally for identification; no endorsement implied. Layout: CC BY-SA 4.0.
Frequently asked questions
Why can a disk-full error occur when some bytes remain available?
The affected filesystem may have exhausted inodes, have reserved capacity or differ from the mount you checked. Inspect the exact path and both capacity and inode usage.
Why do df and du sometimes disagree?
They measure different things. Open deleted files, permissions, mount boundaries, sparse allocation and filesystem features can explain differences.
Is broad Docker pruning a safe emergency fix?
Do not assume so. It can remove unrelated objects or recovery artifacts, and volume pruning can destroy retained state. Establish ownership and an explicit scope first.
Sources
- Linux filesystem capacity — Ubuntu
- Directory allocation and traversal — Ubuntu
- Open-file inspection — Ubuntu
- Journal disk accounting — Ubuntu
- Docker disk accounting — Docker
- Docker pruning scope and volume risks — Docker
Read next
TutorialDevOps5 min read
Application health checks: why uptime monitoring misses real failures
Design application health checks that separate liveness, readiness and real user outcomes, without creating restart storms or dangerous synthetic side effects.
New tools, once a week
One short email listing what joined the directory.
Comments
No comments yet. Be the first to join the conversation.
Leave a comment
Every comment is read by a moderator before it appears. Your email address is never published; it is used only to contact you about this comment.
More from Cloudsoft Zone
TutorialDevOps5 min read
Prometheus and Grafana monitoring for Laravel and Node.js applications
Use Prometheus and Grafana to connect private application metrics, host observations and actionable dashboards for Laravel and Node.js production workloads.
By Nilesh Kushvaha
TutorialDevOps5 min read
Production monitoring for a small SaaS: signals, alerts and recovery evidence you actually need
Build production monitoring around critical user journeys, application errors, queue progress and capacity signals, with actionable alerts and a verified delivery path.
By Nilesh Kushvaha
TutorialDevOps5 min read
Deployment approval gates: when a production release needs a human decision
Use deployment approval gates for concrete production decisions with artifact identity, migration risk, acceptance evidence and a clear recovery plan before credentials are released.
By Nilesh Kushvaha