
Next.js multi-stage Docker build: standalone output, non-root runtime and asset checks
Create a Next.js multi-stage Docker image with standalone output, locked dependencies, non-root execution and explicit asset copying. Verify build-time versus runtime variables.
5 min read
In this article
A Next.js image builds successfully, but production pages load without CSS. Another deployment starts correctly while the browser still calls the staging API. Both problems can occur after the build command has passed.
A Next.js multi-stage Docker build needs a complete runtime artifact. This guide enables Next.js standalone output Docker images, bounds the build context, writes a Next.js Dockerfile with separate dependency and runtime stages, checks native dependencies and separates build-time from runtime configuration.
A Next.js multi-stage Docker build needs a complete runtime artifact and an explicit configuration model. Standalone output reduces what must be shipped, but static files and build-time browser values still need deliberate handling.
This example assumes one npm-managed application at the build-context root, a committed package-lock.json, a public directory and a build script that runs the Next.js production build. Our Node.js production Dockerfile guide covers the general container foundation.
Step 1: Enable standalone output
For a single application using next.config.mjs, the relevant setting is:
export default {
  output: 'standalone',
};
Merge it into the existing configuration rather than replacing image rules, redirects or other required settings. A monorepo may need outputFileTracingRoot and different copy/start paths because dependencies and the server artifact can sit outside the application directory.
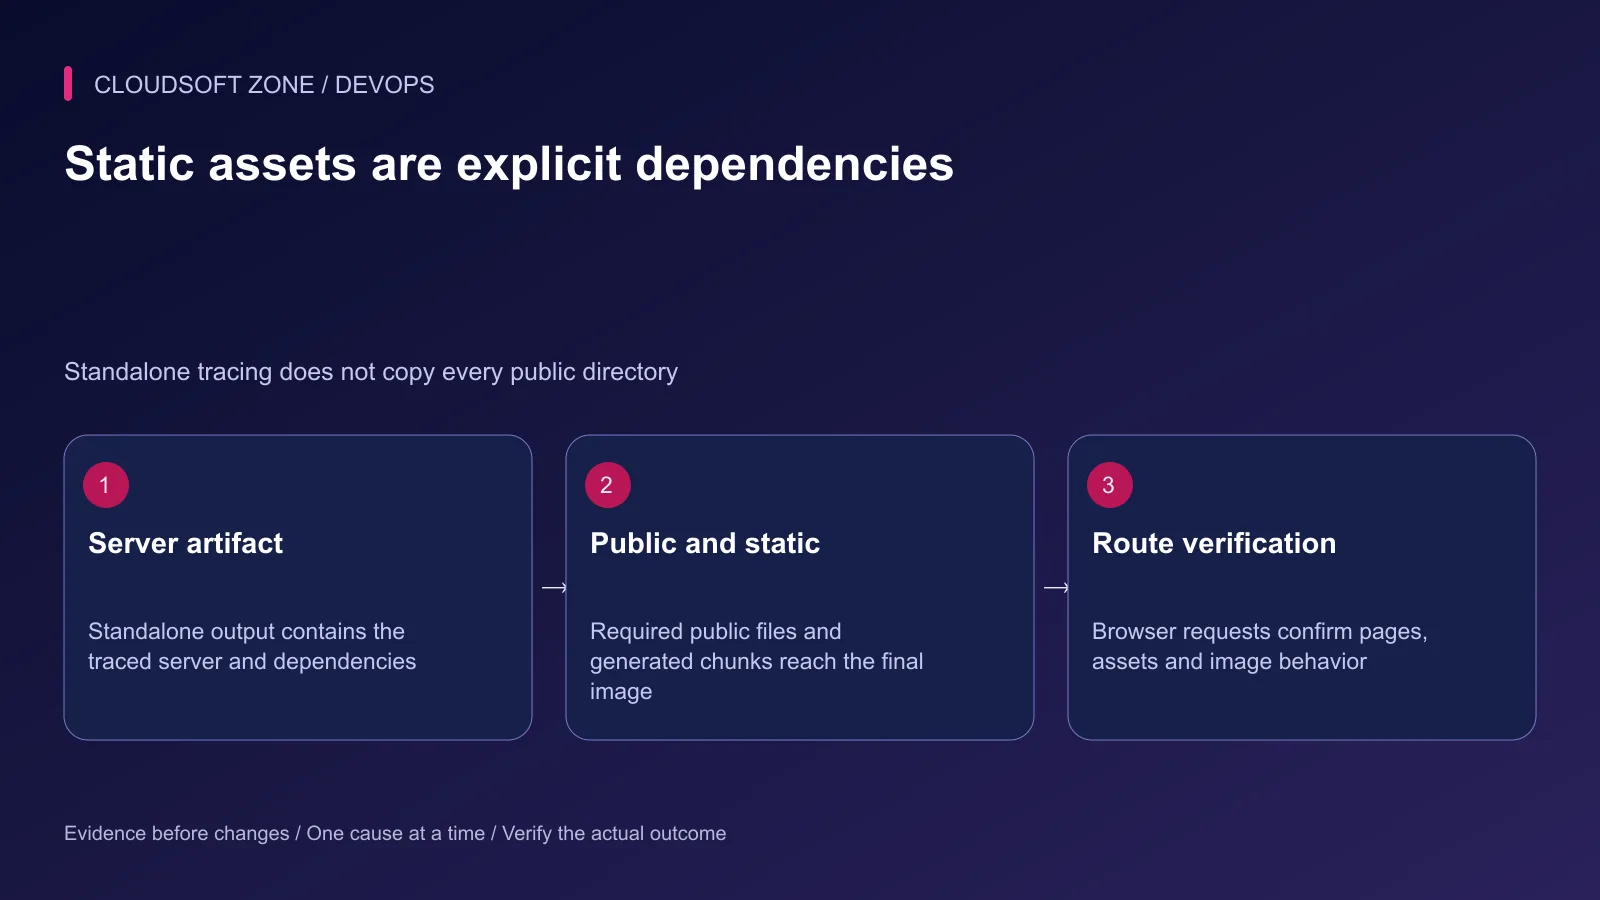
Standalone tracing follows runtime dependencies; dynamically selected files may require explicit tracing configuration. Identify templates, certificates or other runtime data the application reads rather than assuming every file in the repository is included.
Step 2: Bound the build context
Keep local dependencies, build output and real environments out of the context. An illustrative .dockerignore is:
node_modules
.next
.git
.env
.env.*
*.log
Commit non-secret build configuration through the application's documented mechanism. Do not copy the developer's real .env into the image to make a failing build pass.
| Input | Treatment |
|---|---|
| Package manifests and lockfile | Committed and installed reproducibly |
| Public browser configuration | Explicit build-time or designed runtime contract |
| Production credentials | Supplied to the server at deployment |
| Local build output | Excluded and rebuilt in the image |
| Required static/public files | Explicitly delivered with the artifact |
Step 3: Build separate dependency and runtime stages
This Dockerfile uses the Node 24 Debian slim tag family for illustration. The tag is mutable; a production release should record the resolved approved digest and update it deliberately. Use the runtime version supported by the locked application.
FROM node:24-bookworm-slim AS deps
WORKDIR /app
COPY package.json package-lock.json ./
RUN npm ci

FROM node:24-bookworm-slim AS builder
WORKDIR /app
COPY --from=deps /app/node_modules ./node_modules
COPY . .
RUN npm run build

FROM node:24-bookworm-slim AS runner
WORKDIR /app
ENV NODE_ENV=production
ENV PORT=3000
ENV HOSTNAME=0.0.0.0
RUN groupadd --gid 1001 nextjs \
    && useradd --uid 1001 --gid nextjs --no-create-home nextjs
COPY --from=builder --chown=nextjs:nextjs /app/.next/standalone ./
COPY --from=builder --chown=nextjs:nextjs /app/.next/static ./.next/static
COPY --from=builder --chown=nextjs:nextjs /app/public ./public
USER nextjs
EXPOSE 3000
CMD ["node", "server.js"]
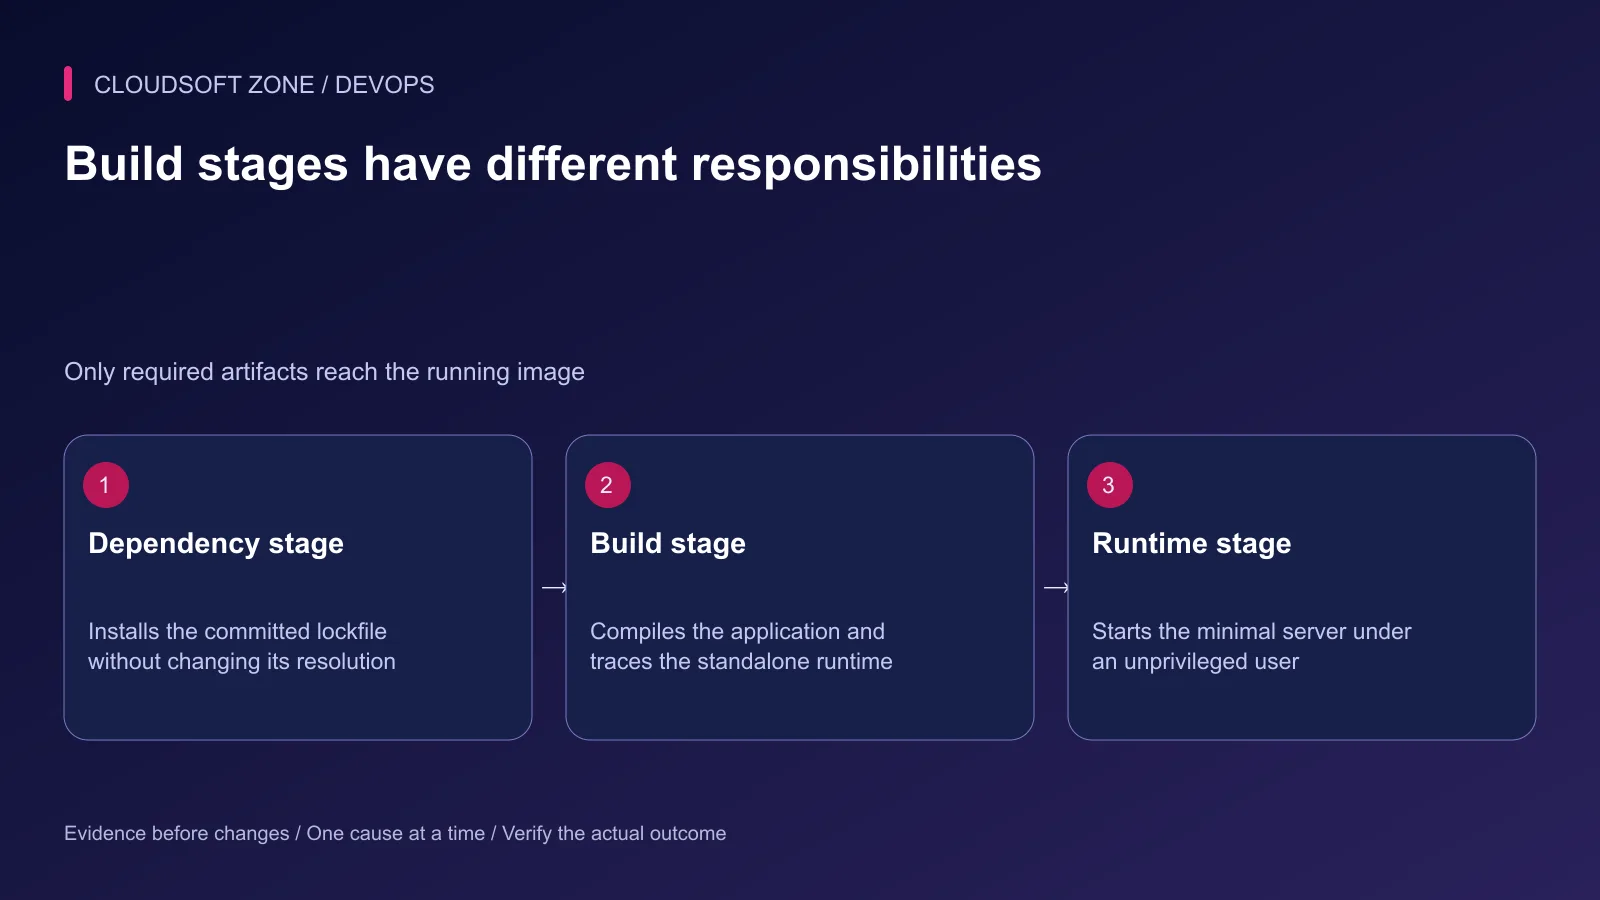
The final stage excludes the general build workspace and runs the standalone server directly. The example requires the public directory; adapt its copy step if the application intentionally has none. Do not switch to next dev in the final stage to avoid a missing artifact.
Step 4: Check native dependencies and writes
Use compatible build and runtime OS families for native modules. Copying native binaries between incompatible environments can fail only after the application begins handling a particular route.
Identify runtime cache or image-optimization paths and give the intended user only the necessary write access. A read-only root filesystem needs an explicit plan for writable caches and temporary files; enabling it blindly can break a working route.
Check required image-optimization dependencies with the installed Next.js version. Do not assume a home page request exercises every native dependency or cache path.
Step 5: Separate build-time and runtime configuration
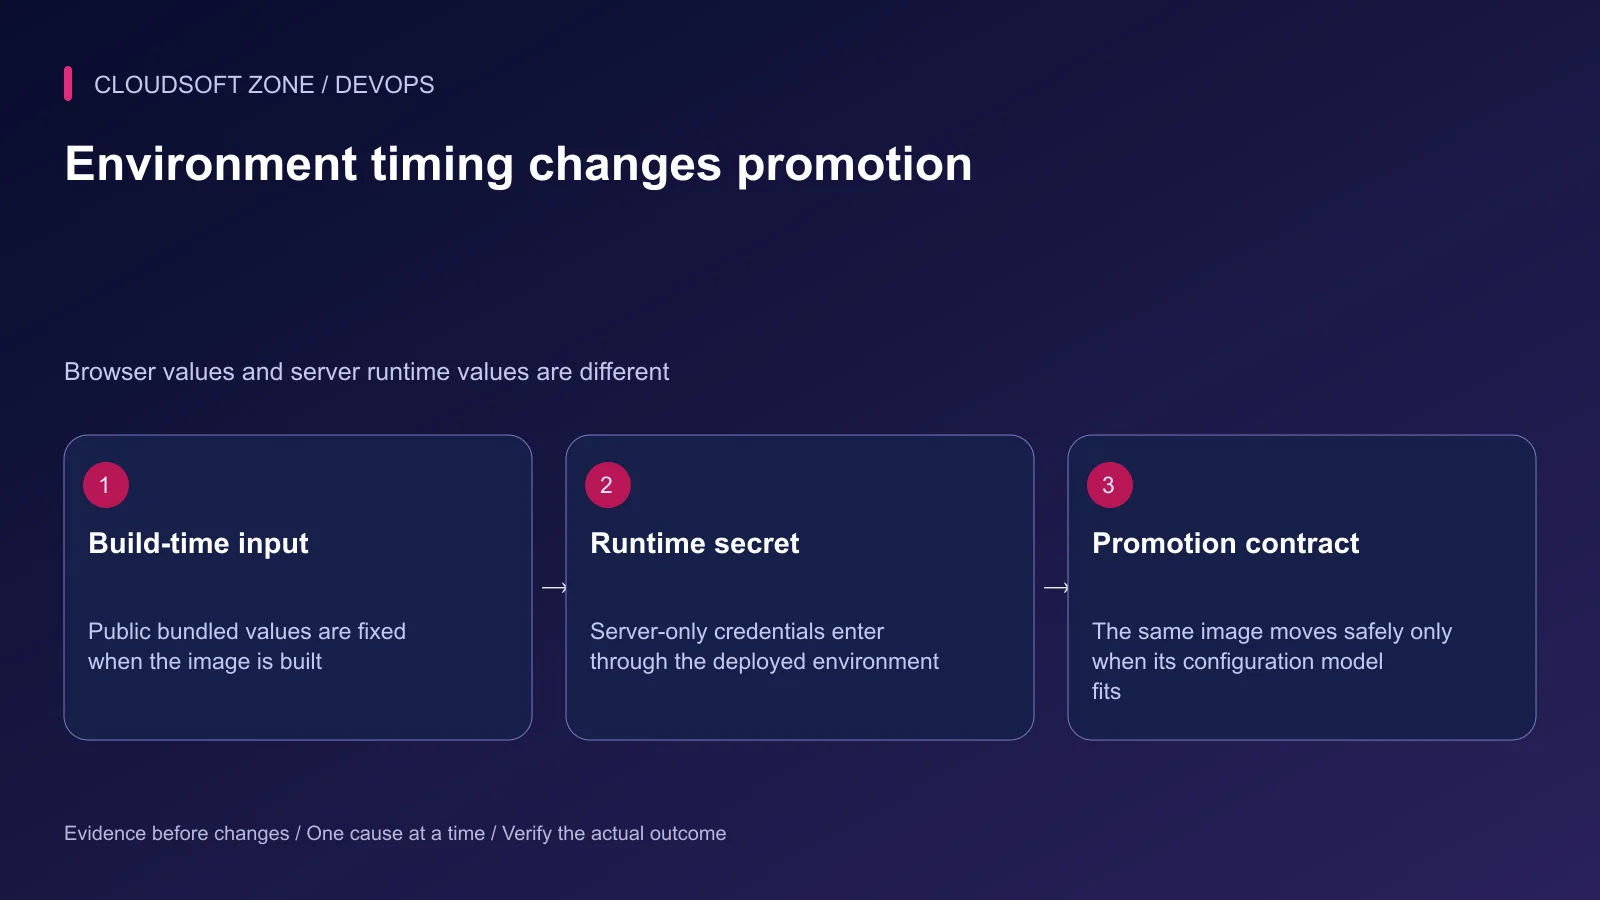
NEXT_PUBLIC variables inlined into browser code are fixed when the bundle is built. Changing those values when starting a container will not rewrite the already generated JavaScript.
Server-only environment values can be read at runtime where the application uses dynamic server execution. Prerendered output and build-time data access need their own review. A build that reaches a real production database can accidentally embed production content or perform unintended work.
Do not put credentials into public variables, image arguments or committed manifests. If the build needs a private registry credential, use the build system's secret mechanism and ensure the command does not copy it into an artifact.
Step 6: Verify the final image privately
Build and run in an isolated environment. Publish the container port only on a chosen local loopback port for rehearsal; exposing the runtime publicly is not required to verify it.
docker build --tag next-web:review .
docker run --name next-web-review --rm \
  --publish 127.0.0.1:4300:3000 next-web:review
Supply the application's required server configuration through its protected deployment mechanism. The command alone is sufficient only for applications without required external configuration. Stop the named rehearsal container when finished; do not use global cleanup commands.
Step 7: Check routes, assets and failure behavior
| Acceptance case | Expected evidence |
|---|---|
| Server-rendered page | Correct content and intended runtime data access |
| CSS, JavaScript and public image | Successful asset responses from the intended path |
| Optimized image | Native dependency and writable-cache behavior work |
| Authenticated page | Correct cookies and private cache boundaries |
| Missing runtime dependency | Clear bounded failure without secret disclosure |
| Process replacement | The selected proxy/deployment lifecycle recovers safely |
Inspect the browser network panel as well as server logs. A server status of 200 can coexist with failed chunks or an incorrect public API address.
Step 8: Promote an immutable artifact
Record the image digest, lockfile revision, build inputs and acceptance evidence. Reuse that artifact only across environments compatible with its public build-time values and rendering model.
Keep the previous image and compatible runtime configuration for rollback. Database or API contract changes can still prevent a simple image reversal. Our single-VPS deployment guide explains that release boundary.
For a Next.js container and promotion review, contact Cloudsoft Zone.
Featured image: Cloudsoft Zone technical layout with nextjs artwork by Vercel (CC BY-SA 4.0). Product mark resized proportionally for identification; no endorsement implied. Layout: CC BY-SA 4.0.
Frequently asked questions
Does standalone output automatically include public and .next/static?
No. When the standalone server serves those assets, copy the required public directory and generated static chunks explicitly or use a deliberately configured external asset service.
Can I change NEXT_PUBLIC values when starting the built container?
Values inlined into the browser bundle are fixed at build time. Use a designed runtime configuration mechanism if one image must supply different public values after promotion.
Can I copy the same Dockerfile directly into a pnpm monorepo?
Not without adapting lockfile installation, workspace context, output tracing and the standalone server path. This example assumes a single npm-managed application with a committed package-lock.json.
Sources
- Next.js standalone output — Next.js
- Containerizing a Next.js application — Docker
- Docker multi-stage builds — Docker
- Next.js environment variable timing — Next.js
- npm clean lockfile installation — npm
Read next
TutorialDevOps6 min read
Laravel Docker Compose with nginx, MySQL and Redis: separate images, workers and retained data
Design a Laravel Docker Compose stack with matching PHP/nginx artifacts, private database and Redis services, explicit worker lifecycle and retained storage contracts.
Comments
No comments yet. Be the first to join the conversation.
Leave a comment
Every comment is read by a moderator before it appears. Your email address is never published; it is used only to contact you about this comment.
More from Cloudsoft Zone
TutorialDevOps5 min read
nginx WebSocket reverse proxy: configure upgrades, authentication and reconnect behavior
Configure an nginx WebSocket proxy with explicit upgrade headers, bounded idle behavior and application authorization. Distinguish native WebSockets from Socket.IO polling.
By Nilesh Kushvaha
TutorialDevOps5 min read
nginx load balancing with multiple Node.js instances: capacity, state and safe draining
Configure nginx load balancing for equivalent Node.js instances, then review shared sessions, connection budgets, passive failure detection and deployment draining.
By Nilesh Kushvaha
TutorialDevOps5 min read
nginx PHP upload limits: safely increase file sizes without exposing the server
Align nginx PHP upload limits with multipart overhead, PHP-FPM configuration, Laravel validation and temporary-storage capacity. Diagnose 413 errors before raising every limit.
By Nilesh Kushvaha