
Multiple Node.js applications behind nginx: host routing, process ownership and shared-server capacity
Run multiple Node.js applications behind nginx with explicit host-to-port routing, separate process ownership, scoped state and acceptance checks for every hosted service.
5 min read
In this article
The new API works on its domain, but another website begins returning the wrong application. A second process uses the first service's Redis queue, or a reload briefly exceeds the VPS memory budget. Sharing a server needs explicit boundaries as well as correct ports.
Running multiple Node.js applications on one server needs explicit boundaries. The guide sets up an nginx reverse proxy multiple Node apps can share, with private listeners, separate owners, host-specific routing and a memory budget, so you can host multiple Node apps on one VPS safely.
This guide runs multiple Node.js applications behind one nginx public edge. It focuses on hostname routing, private listeners, process ownership and shared capacity. It assumes built applications and certificates already exist; it does not start or replace unrelated services.
For HTTPS preparation, use our nginx certificate guide. The examples use two same-host applications rather than a container network, where service addressing would differ.
Step 1: Create the application map
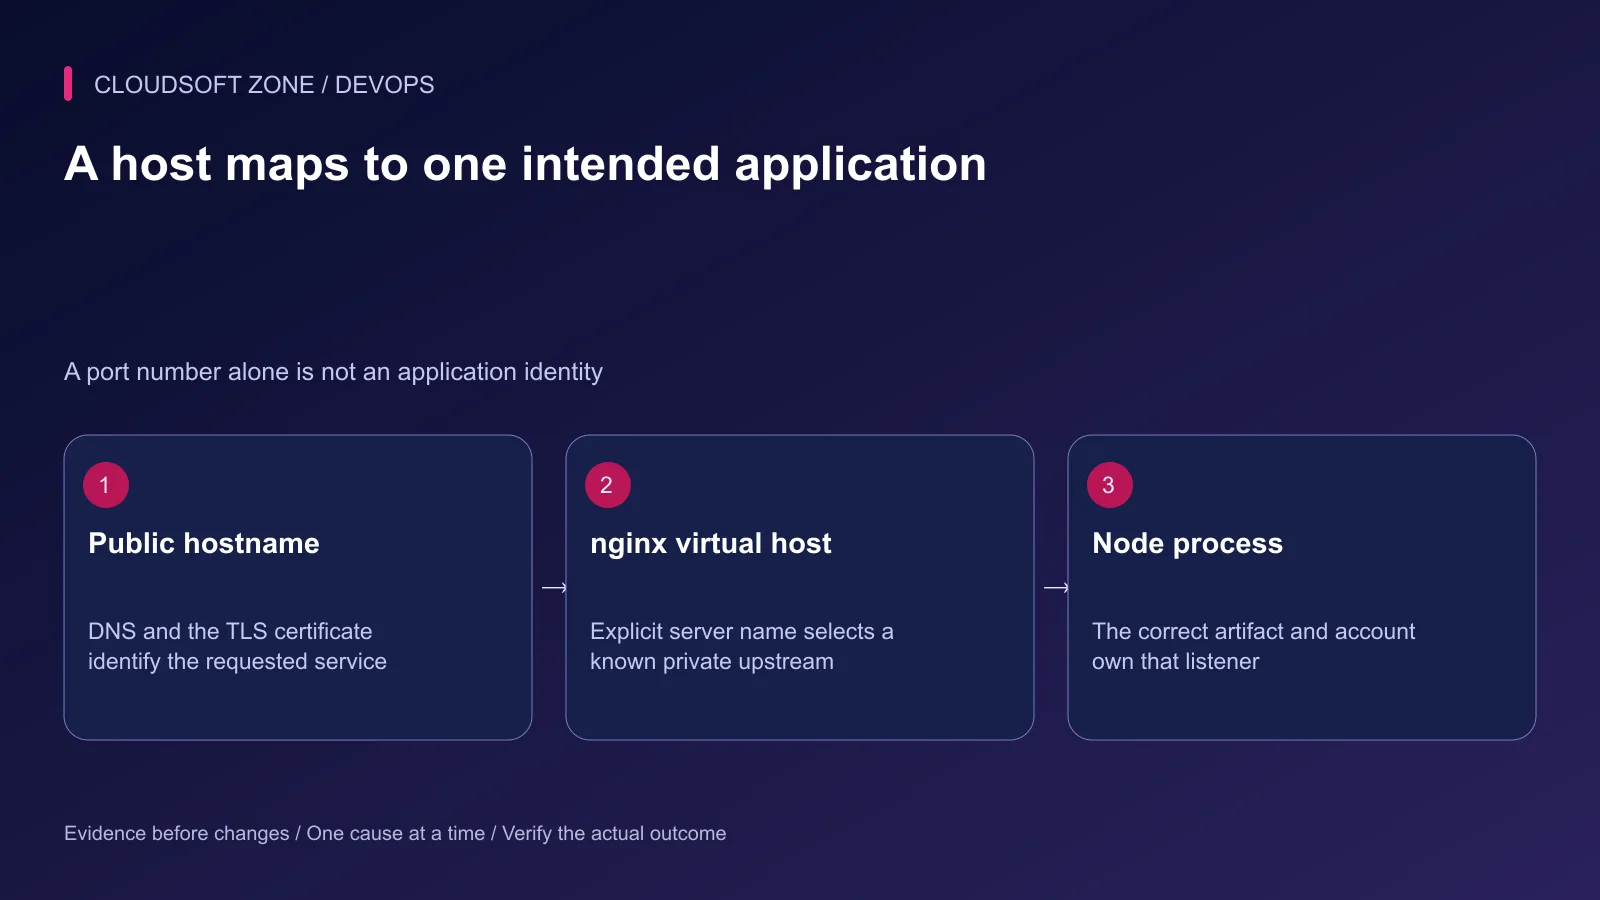
Record each hostname, application artifact, private listener, operating account and process supervisor. Include background consumers alongside public web applications.
| Service | Hostname | Private listener | Intended owner |
|---|---|---|---|
| Reporting API | reports.example.com | 127.0.0.1:3001 | reports-app |
| Customer portal | portal.example.com | 127.0.0.1:3002 | portal-app |
Check which process already owns every selected port. Do not resolve a collision by killing an unexplained listener. Choose the intended allocation and document it before starting the new application.
Prefer separate hostnames when applications have conflicting root paths or framework asset conventions. Path-based mounting needs explicit base-path support and URI handling; a copied location block does not automatically make an application mountable under a subdirectory.
Step 2: Bind the intended private listeners
For this same-host design, bind each application to loopback. Node's listen API can otherwise use unspecified interfaces when a host is omitted; framework wrappers have their own startup contracts.
An illustrative plain Node.js listener is:
server.listen(3001, '127.0.0.1');
Use the corresponding supported startup configuration for NestJS, Next.js or another framework. An environment variable named HOST only affects an application that reads it.
Verify the listening address and a harmless direct response from the operating host. Then confirm the private port is not reachable through the public network boundary. Firewall configuration and runtime binding should agree.
Step 3: Separate process and filesystem ownership
Keep each application's code, environment delivery and persistent files under the intended ownership. One application's runtime should not be able to replace another application's executable artifact or read its private credentials.
Use the existing supervisor appropriate to the deployment. If using PM2 under separate accounts, each daemon and saved state has its own owner. A command run as root can show a different process list, so make the operating identity explicit.
Give every application a stable process name and working directory. Point startup at the built artifact, not a development server. Retain release directories while active consumers still need them.
Step 4: Define host-specific nginx routing
Create one reviewed HTTPS server block per hostname. This example shows Reporting's routing fields; the certificates must already exist and the broader TLS/security policy remains required:
server {
    listen 443 ssl;
    server_name reports.example.com;
    ssl_certificate /etc/letsencrypt/live/reports.example.com/fullchain.pem;
    ssl_certificate_key /etc/letsencrypt/live/reports.example.com/privkey.pem;
    access_log /var/log/nginx/reports-access.log;
    error_log /var/log/nginx/reports-error.log;

    location / {
        proxy_pass http://127.0.0.1:3001;
        proxy_http_version 1.1;
        proxy_set_header Connection "";
        proxy_set_header Host $host;
        proxy_set_header X-Forwarded-Proto $scheme;
        proxy_set_header X-Forwarded-For $remote_addr;
    }
}
For Portal, change the hostname, certificate, logs and upstream port together. Preserve streaming behavior for frameworks that require it and add WebSocket handling only for an actual endpoint.
This header example assumes nginx directly terminates TLS and observes the client. If a trusted edge precedes it, configure the real address and scheme boundary for that topology. The application should not blindly trust arbitrary forwarded headers.
Step 5: Keep shared-service namespaces deliberate
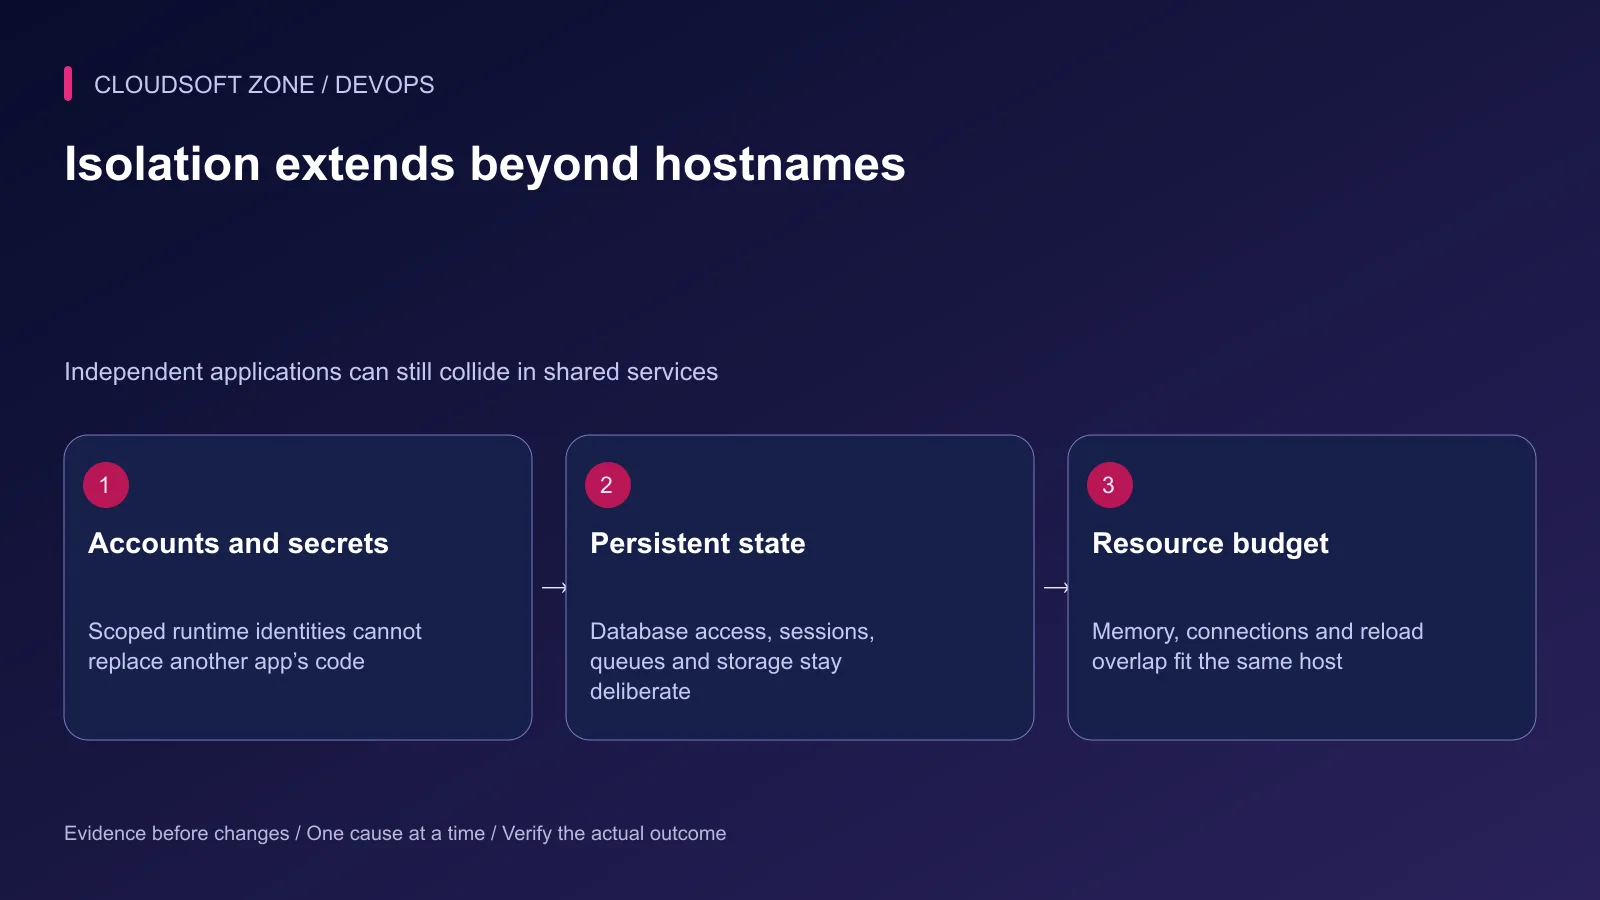
Separate database credentials, Redis coordination, queue names and object prefixes according to each application's requirements. A shared physical service can host distinct logical state, but permissions and namespace settings must enforce the intended boundary.
Review session cookie names and domain scope across sibling subdomains. Broad cookies can interact even when each hostname routes to a different process. Do not share an application encryption key simply because both apps live on one VPS.
Application-specific log labels and correlation identifiers make incidents easier to narrow. Keep private tokens and customer payloads out of the logs and restrict collector access.
Step 6: Budget the combined host
Add the memory, CPU, storage growth and database connection requirements of every application, worker and infrastructure service. Include temporary old/new process overlap during deployment.
A new web instance can multiply an application connection pool. A second app's queue backlog can also compete with the first app's database work. Choose process counts from measured service behavior rather than assigning every application all CPU cores.
Use our Node.js memory analysis guide when memory growth needs investigation. Moving one app to its own host can be more useful than adding another process to an already saturated server.
Step 7: Validate every hosted application
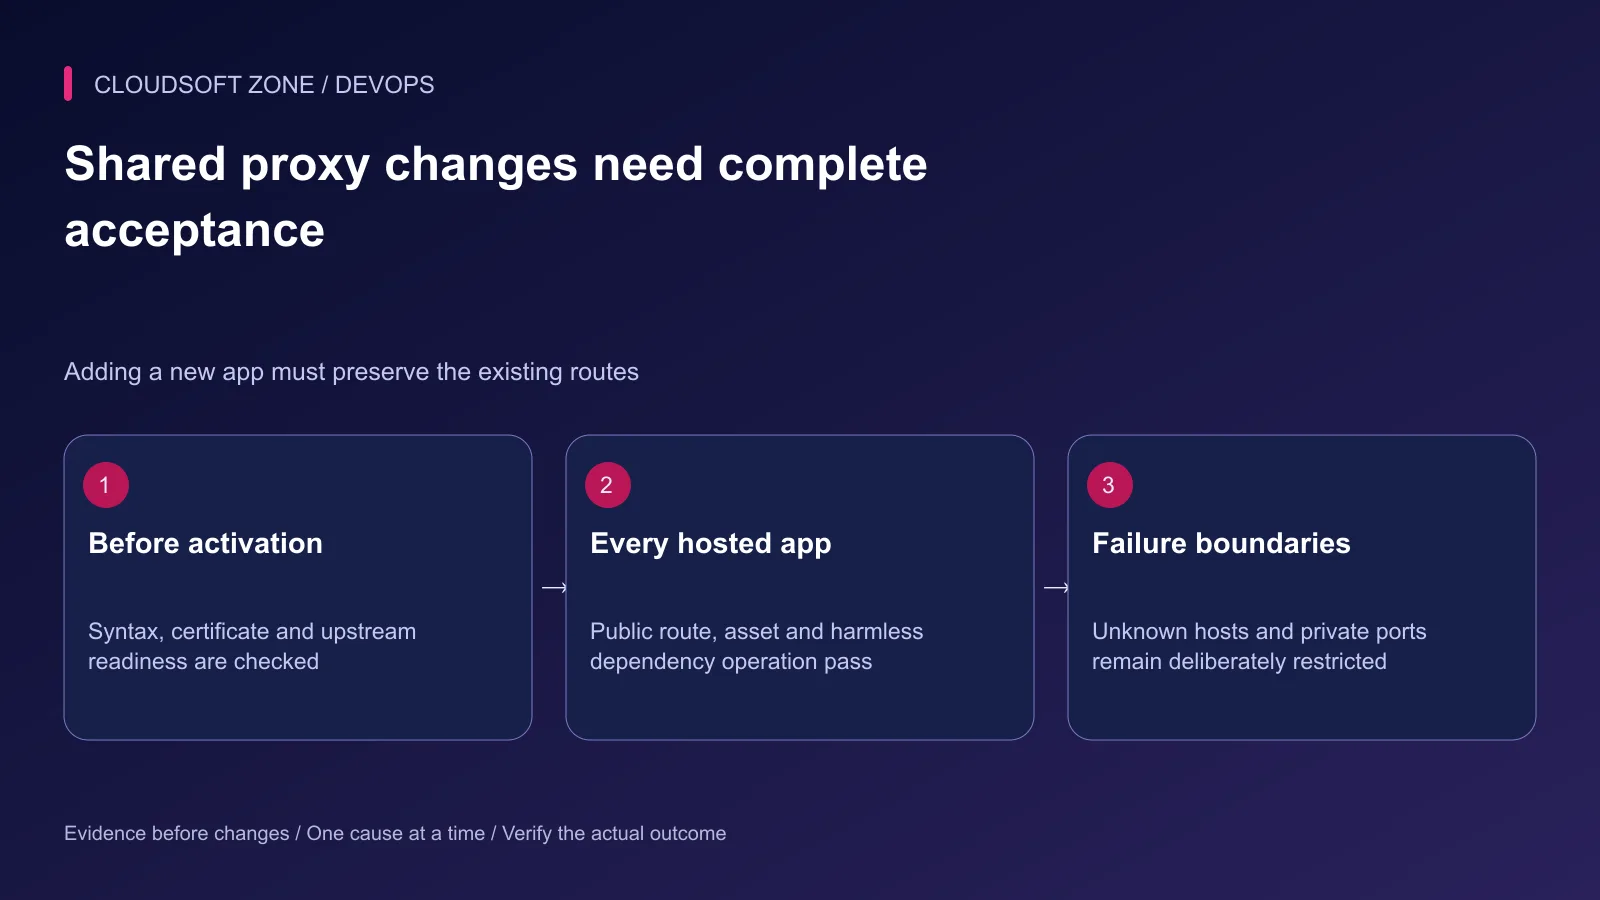
Run nginx's syntax check before the established reload. Check each hostname's certificate, expected application response and one harmless dependency-backed workflow afterwards.
Test a nested route and static asset where used. Test unknown-host behavior according to the reviewed default-listener policy. A request with an unrecognized host must not accidentally expose an administrative application.
If a host returns the wrong app, compare server-name selection and copied upstream fields. If it returns 502, verify the intended private process before changing the entire shared proxy. If only one app fails after a reload, preserve the other apps while applying a targeted correction.
Keep a known-good proxy configuration and compatible artifacts for recovery. For a multi-application hosting review, contact Cloudsoft Zone.
Featured image: Cloudsoft Zone technical layout with nginx artwork by Igor Sysoev (Public domain). Product mark resized proportionally for identification; no endorsement implied. Layout: CC BY-SA 4.0.
Frequently asked questions
Can several Node.js applications use the same public HTTPS port?
Yes. nginx can select an application by hostname while each application uses its own private listener. Define certificate and default-host behavior deliberately.
Should every application share one PM2 daemon account?
That may be an operating choice for one trust boundary, but it is not strong filesystem or secret isolation. Use scoped accounts and separate services where the applications require different permissions.
Will adding more processes always increase capacity?
No. Each process can add memory and connection demand, and deployment overlap adds temporary load. Measure the host and downstream budgets first.
Sources
- nginx hostname selection — nginx
- nginx request processing — nginx
- nginx proxy configuration — nginx
- PM2 application identity and working directory — PM2
- Node.js server listen behavior — Node.js
Read next
Troubleshooting guideDevOps5 min read
PM2 app disappears after server restart: diagnose startup, users and saved process state
If a PM2 app disappears after server restart, check the daemon owner, boot service, saved process list, runtime path and application startup failure before restoring it.
Comments
No comments yet. Be the first to join the conversation.
Leave a comment
Every comment is read by a moderator before it appears. Your email address is never published; it is used only to contact you about this comment.
More from Cloudsoft Zone
TutorialDevOps5 min read
PM2 production guide: startup, restarts, logs, clustering and real readiness
Use this PM2 production guide to define process ownership, startup recovery, graceful restarts, log retention, capacity and application readiness on a VPS.
By Nilesh Kushvaha
TutorialDevOps5 min read
nginx reverse proxy explained: paths, headers and streaming for Next.js and NestJS
Understand nginx reverse proxy behavior for Next.js and NestJS: preserve API paths, set trusted headers, support streaming and diagnose the correct upstream boundary.
By Nilesh Kushvaha
Troubleshooting guideDevOps6 min read
Laravel works locally, fails in production: trace runtime, configuration and request differences
Diagnose the Laravel works locally fails production problem by locating the first failing boundary: runtime, cached values, routing, permissions, dependencies or assets.
By Nilesh Kushvaha